
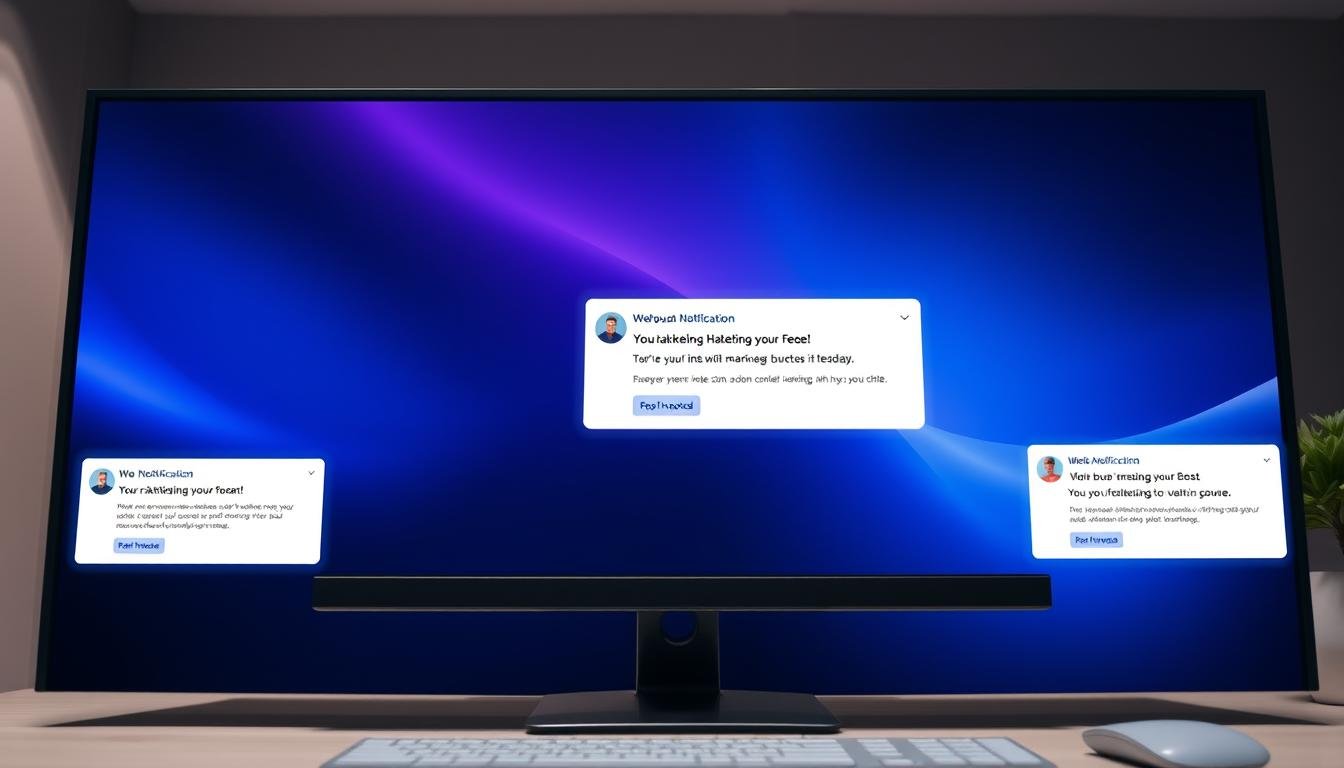
Web push can create a high-visibility channel that works alongside email. You reach users on desktop and mobile after they opt in, even when they are off your site. This guide shows how to set up and use web push notifications for steady, measurable gains.
You will learn the technical step-by-step setup: create a Site, add the Web Connect tracking code to your website head, and place a service worker under HTTPS. These steps ensure reliable delivery and improve deliverability when the service queues messages while the browser is offline.
Custom prompts shown before the native prompt raise opt-in rates and reduce blocks on stricter platforms. We also cover targeting, concise copy that reflects your brand, and content choices that boost conversions without annoying your audience.
Key Takeaways
- Use web push to add a persistent channel for timely re-engagement.
- Follow the setup steps: Site, tracking code, and service worker under HTTPS.
- Deploy a two-step permission path: custom prompt then native prompt to protect opt-in rates.
- Write concise notification content that matches user journeys and brand voice.
- Target by path and behavior to ask permission at the right moment.
- Track opt-in, delivered, and clicked metrics to iterate for better conversions.
Why web push and browser prompts matter for conversions right now
Reaching people where they spend attention—on their device screens—changes how you capture intent.
Web push notifications deliver short, action-focused updates to desktop and mobile. Once a user clicks Allow, messages route through a push service and queue if the client is offline. Notifications appear as corner toasts on desktop screens or in the mobile panel, so your message shows at the moment it matters.
How web push notifications reach users on desktop and mobile
Delivery is handled by a service that keeps messages until the device reconnects. This reduces lost sends and raises the chance a visitor will return in the next session.
Key benefits: timely updates, higher traffic, and more subscribers
Use web push to re-engage people quickly, announce launches, and recover carts without fighting email clutter. Because the channel is opt-in, you speak to visitors who already signaled interest, which lifts engagement rates. Additionally, web push notifications can be personalized based on user behavior, making them more relevant and compelling. This tailored approach can significantly enhance conversion rates, especially when paired with marketing strategies like the getresponse affiliate program benefits, which provide valuable incentives for referrals. By harnessing this powerful tool, businesses can strengthen customer relationships and drive sustained engagement over time.
| Audience | What they see | Marketing outcome |
|---|---|---|
| Desktop users | Corner toast on screen | Immediate return visits and higher sessions |
| Mobile users | Notification panel alert | Fast click-throughs and conversions on the website |
| Engaged subscribers | Direct messages after opt-in | Better retention and measurable lifts in page views |
Prerequisites and setup: from Add site to service worker installation
Begin the setup by adding your site details and confirming the secure URL that matches your pages.
Step 1 — Click Add site: In your account, go to Tools > Push notifications and click add site. Name the site (up to 150 characters) and enter the exact website url shown in the address bar. Use HTTPS and supply only domains or subdomains; directory-level URLs are not allowed.
Step 2 — Add the Web Connect code: Copy the tracking code provided and paste it into the <head> of every page where you'll request permission or display notifications. Confirm the snippet appears on load.
Step 3 — Download and install the service worker: Download service worker and place the service worker file in your site's root directory. Do not rename the file and ensure it serves from the same origin as the website. Without HTTPS the service worker cannot register.
- Upload a brand icon to standardize visuals across messages.
- Use only domains/subdomains (for example, https://example.com).
- Validate installation by loading a page and checking the console for successful service worker registration.
- Return to your account any time to get code or download service worker again.
Keep in mind supported clients: all major modern clients except Safari and Internet Explorer 11. Confirm coverage for your audience so you understand reach limitations.
Custom prompt vs native prompt: designing the path to “Allow”
A short, branded pre-permission layer helps you explain value and gently nudge visitors toward allowing notifications.
Why a two-step flow works: Show a custom prompt first to explain the benefit, then trigger the native prompt to collect permission. This protects opt-in rates and prevents the system dialog from being blocked by users who had no prior context.
When you create custom prompt copy, keep the message under 128 characters. Use direct text that reflects your brand tone and states the benefit in one line. Configure confirmation button text and color, and set the cancel link text/color so choices are clear.
Preview across devices before you activate. Confirm line breaks, touch sizing, and contrast on phones, tablets, and desktop screens. Click save to store the configuration, then activate the version you want live.
- Use a concise internal name (≤150 characters) for tracking versions.
- Test headlines, button microcopy, and color contrast to lift allows.
- Manage and compare prompts under Permission prompts to track views and conversions.
| Step | Action | Why it matters |
|---|---|---|
| 1 | Design custom prompt (name, message, buttons) | Sets context and reduces friction |
| 2 | Preview across devices | Ensures legibility and correct layout |
| 3 | Click save and activate | Publishes the prompt and replaces previous versions |
| 4 | Track views → native prompt → subscriptions | Measures lift and informs iterative tests |
Targeting and timing: prompt paths, audiences, and triggers

Use targeted rules to ask permission where it matches intent and to avoid interrupting low-interest sessions.
Path rules and ordering
Entire site fits when your value applies everywhere. Use Path starts with or Path excludes when page context should change the message.
Keep mind that order matters. Put specific paths (for example, /store/product) above broader ones so the correct rule fires.
Audience and device filters
Show different messages to All, New, or Returning visitors and tailor content by devices and country. Align audience selection to the funnel stage.
Behavioral triggers and cooldowns
Choose triggers—time on page, scroll depth, exit intent, inactivity, or on-click—to match engagement. Use ALL/ANY logic for compound rules.
Apply cooldowns to avoid fatigue. For low-intent users extend the gap; for high-value pages shorten it. If you use a code-based click trigger, confirm the selector is stable so the link fires reliably after design updates.
browser prompt best practices getresponse
Front-loading your headline with the value keeps users clicking when space is tight. Keep the custom prompt message short (≤128 characters) and limit notification titles and text to 250 characters. Some desktop clients truncate near 50 characters, so put key verbs and brand cues first.
Clarity wins conversions. Lead with a clear benefit, include a trustworthy brand name, and use a distinct confirm button label that explains the outcome (for example, “Get price drops”). Design for scannability: short text, high-contrast buttons, and ample spacing for mobile and long pages.
Match placement and frequency to page intent. Deploy on high-intent pages and set cooldowns to avoid fatigue. Use variants to test headlines, incentives, and timing, then scale winners to similar audience segments.
Measure the path: views → native prompt → subscriptions, and track downstream conversions from web push to quantify impact. Iterate on message, design, and timing using real data from your subscribers. Leverage insights gained from your tracking to refine your engagement strategy further. Implement getresponse a/b testing functionalities to experiment with different versions of your message and design, ensuring that you are constantly optimizing for the best performance. This iterative process will ultimately enhance subscriber retention and increase conversion rates. Incorporating features from the best email marketing platforms can further enhance your ability to connect with your audience. By utilizing advanced segmentation and personalized messaging, you can create more targeted campaigns that resonate with different subscriber demographics. Regularly reviewing performance metrics will help you stay agile and adapt your strategies to meet the evolving preferences of your audience.
| Element | Guideline | Why it matters |
|---|---|---|
| Custom prompt | ≤128 characters; front-load offer | Raises allow rate and reduces truncation issues |
| Notification text | ≤250 characters; key words first | Maintains clarity across devices and drives clicks |
| Placement & frequency | Target high-intent pages; set cooldowns | Reduces banner blindness and protects brand goodwill |
| Measurement | Track acceptance, subscriptions, conversions | Data-driven iteration improves long-term value |
Create web push notifications that get clicks
A sharp, benefit-led title forces attention on crowded screens and lifts clicks. When you create notification content, lead with the outcome. Put the hook in the first 50 characters where many desktop clients show it.
Use AI to speed drafting, then refine manually. You can create web push with AI suggestions or type text yourself. Enter a title (up to 250 characters) and optional text (up to 250). Keep lines short and active.
Pair copy with compelling visuals. Upload images that meet the 2:1 ratio recommendation and add a square icon at least 196×196 px. Add action buttons with clear verbs and a destination link to a high-intent page.
- Start with a strong title; keep mind some desktop clients truncate early.
- Use topics so newer messages replace older unclicked ones and avoid fatigue.
- Click save often while editing titles, images, and buttons so changes persist.
- Create custom deep links to products, categories, or content for better conversion.
- Add minimal code-based tracking to tie post-click events to your analytics.
| Preview | Common differences | Action |
|---|---|---|
| macOS desktop | Long titles may truncate | Front-load keywords and CTA |
| Windows | Shows image and icon prominently | Verify image ratio and icon clarity |
| Android | Expands text on tap | Test deep link landing pages on mobile |
QA in a real session: preview in your own client, send notification to a small internal segment, validate metrics, then scale to your site audience and subscribers.
Delivery strategy: send notification immediately or schedule for later
Your delivery choice—immediate send or scheduled send—shapes how many people see the message and when they act.
Send notification immediately when the update is time-sensitive: flash sales, outage alerts, or live events. To send now you must have at least one subscriber with permission in your account.
Choosing time zones and using scheduled sends in automation
Change the time zone from your account default to schedule sends that match local peak time. Scheduling works inside automation workflows so you can coordinate push notifications with email and on-site banners.
Schedule by geography to respect local hours for visitors in multiple regions. You can also schedule before many people subscribed, which lets you prepare campaigns in advance.
Managing drafts, duplicates, and status for active and queued messages
Click save as you build to preserve drafts. Duplicate proven messages to accelerate recurring campaigns and avoid rework.
Use the status dashboard to view queued, active, and completed pushes. Metrics include sent, delivered, and clicked so you can measure impact after each step.
| Action | When to use | Why it matters |
|---|---|---|
| Send notification immediately | Urgent updates | Fast delivery to subscribers who can act now |
| Schedule send | Regional timing or coordinated campaigns | Improves open and click rates by hitting local peaks |
| Save as draft / Duplicate | Content planning and repeatable offers | Speeds execution and keeps consistent messaging |
| Status dashboard | Monitoring and QA | Single source of truth for team coordination |
Conclusion
A solid technical foundation turns web push into a durable growth lever.
Start small, measure, and scale. Click add, then click add site and configure the website url. Download service worker and place the service worker file at the site root under HTTPS so messages register reliably.
Use a two-step flow with a custom prompt before the native prompt so more visitors opt in. Create web push content within 250 characters, add images and clear buttons, and link to high-intent pages to lift conversions.
As many people subscribed grows, monitor sent, delivered, and clicked metrics. Iterate on audiences, timing, and creative, then send notification when you’re ready to engage your subscribers. Utilizing strategies such as segmentation can enhance your engagement rates further. To maximize the impact, consider integrating tools like getresponse push notification buttons, which allow for instant communication and interaction with your audience. By continuously refining your approach based on performance data, you can ensure that your notifications resonate and drive desired actions. Additionally, testing different creatives and sending times can reveal what your audience responds to best, leading to more successful outreach efforts. To further enhance your strategy and streamline your processes, consider ways to optimize campaigns with GetResponse tools that provide in-depth analytics and automation features. This will not only save time but also empower you to craft messages that resonate more deeply with your subscribers.
FAQ
What is the difference between a custom prompt and the native prompt?
The custom prompt is a site-controlled modal you design—colors, copy (up to 128 characters for the prompt message), images, and CTA buttons—so you can match brand voice and reduce surprise. The native prompt is the browser’s standard permission dialog. Use a two-click path: first a custom prompt to explain value, then the native prompt to request permission. This approach improves acceptance rates and avoids blocked prompts.
How do web push notifications reach users on desktop and mobile?
Notifications are delivered through the browser’s push service via a service worker registered on your site. Once visitors subscribe, the push service routes messages to their device—desktop, phone, or tablet—even when the site is closed. Ensure HTTPS, a valid service worker file in your site root, and supported browser versions for reliable delivery.
What do I need to set up before sending notifications?
Add your site with the exact HTTPS URL, upload a brand icon, and insert the Web Connect tracking code into the head section. Download the service worker file and place it in the site root. Verify supported browsers and note limitations (some older browsers and private modes restrict push). Then create and preview prompts across devices before activating.
Where should I place the Web Connect tracking code?
Place the Web Connect tracking code inside the
section of every page where you want to prompt or track subscribers. This ensures proper registration of the service worker, consistent metric collection, and correct attribution for conversions and visitors across desktop and mobile.
What are the best copy limits for prompts and notifications?
Keep prompt copy concise—custom prompt messages should be around 128 characters; notification titles and body text often need tighter limits depending on the OS and browser. For broader guidance, use 128–250 characters across prompts and notifications, focusing on clear value and a single CTA to maximize clicks and conversions.
How do I design prompts to match my brand?
Use a consistent brand voice, include your icon or an image, choose matching colors, and craft a short value-driven message. Position the custom prompt where it’s visible but not intrusive. Preview across desktop and mobile devices and test variations to find the highest acceptance and engagement rates.
What targeting and triggers should I use for prompts?
Use prompt paths like entire site, path starts with, or path excludes to scope where prompts appear. Target by audience segments, devices (phone, tablet, desktop), and country. Trigger prompts with behavioral signals—time on page, scroll depth, exit intent, inactivity, or on-click events—and apply cooldowns to avoid fatigue.
How do prompt rules interact when multiple rules apply?
Rules are prioritized by the order you set; higher-priority rules override lower ones when paths overlap. Use explicit ordering for prompt paths and audience targeting to ensure the most relevant prompt displays. Regularly audit rule logic to prevent conflicting behaviors.
What are effective strategies for notification content to increase clicks?
Use concise titles, clear value propositions, and strong CTAs. Include relevant images or icons following recommended specs and use deep links as destination URLs to send users to the most relevant page. Leverage topics or tags to personalize content and test variations with A/B methods to measure acceptance and click-through rates. Incorporating effective landing page templates can enhance user experience by ensuring consistency and clarity in design. Additionally, regularly analyzing user behavior and feedback will provide insights that can refine your approach further. Continuously optimising these elements will ultimately lead to improved conversion rates and user engagement. It's also beneficial to explore various getresponse alternatives for landing pages to find the best fit for your specific needs. By comparing features, pricing, and usability of different platforms, you can select the one that enhances your marketing strategy effectively. Keeping an eye on emerging tools and technologies will help you stay ahead of trends and maintain a competitive edge in your campaigns.
How should I schedule sends and handle time zones?
Choose recipient time zones to send at optimal local times or use scheduling tools to delay sends. For automated campaigns, set scheduled sends within your automation and consider peak engagement hours for each audience. Manage drafts and duplicates carefully to avoid sending multiple messages to the same subscriber.
What are service worker requirements and where should it be hosted?
The service worker file must be hosted at your site’s root and accessible via HTTPS. It handles background push delivery and notification display. Download the provided service worker, customize if needed, and upload to the root directory. Validate registration in developer tools and test notifications across supported browsers and devices.
How do I measure acceptance and conversion rates?
Track subscription acceptance rates, click-through rates, and downstream conversions via your tracking code and analytics. Measure metric changes after prompt or message variations. Use A/B testing to iterate on copy, design, timing, and targeting to improve performance over time. Additionally, leverage insights gained from your analysis to refine your audience segmentation and enhance engagement strategies. By continuously assessing the effectiveness of your campaigns, you can make data-driven decisions that lead to better outcomes. Consider utilizing tools to optimize GetResponse account management tools for streamlined campaign management and increased efficiency.
Are there limitations by browser or device I should keep in mind?
Yes. Some browsers and older versions limit push support or behave differently with prompts. Private/incognito modes can block service worker registration. Mobile OS variations affect notification display and character truncation. Test in multiple browsers and devices and provide fallbacks for unsupported environments.
How do I prevent subscriber fatigue from too many prompts or notifications?
Implement prompt cooldown settings and frequency caps for notifications. Prioritize messages and segment audiences so users receive only relevant content. Monitor engagement and unsubscribe signals, then reduce frequency or refine targeting where fatigue appears.
Can I preview prompts and notifications before sending?
Yes. Activate preview modes to see how custom prompts and notifications appear across desktop and mobile. Test the native prompt flow and service worker behavior in your own browser and on devices. Previewing prevents design mismatches and helps ensure correct CTA links and deep links work as intended.
How do images and action buttons affect engagement?
Images, icons, and action buttons increase visibility and drive higher click rates when used properly. Follow recommended image specs and aspect ratios. Use action buttons to create clear, trackable CTAs that link to deep, relevant content. Keep visuals aligned with brand and context to maintain trust.