This guide gives you a clear, actionable plan to use web channel messages for timely re-engagement.
You will learn how web-based notifications reach users even when they are off site and why that matters for modern marketing.
Key setup steps include adding your site under Web push notifications, installing the tracking script, and securing browser permission so the system can identify contacts in your account. Once these initial steps are completed, you can start customizing your notifications to align with your brand’s message and goals. The getresponse web push setup process also allows you to segment your audience for more targeted campaigns, ensuring that the right messages reach the right users. Finally, regular analysis of engagement metrics will help you refine your approach and improve the effectiveness of your notifications over time. Additionally, integrating the getresponse webhooks event catalog overview can enhance your notification strategy by providing insights into user interactions and behaviors. This allows for real-time adjustments and more personalized messaging, ultimately driving higher engagement rates. By leveraging these tools, you can create a dynamic communication framework that resonates with your audience and fosters loyalty.
We also explain practical differences between Web and Email channels: Web can engage opted-in visitors and subscribers and offers two exits (True on delivery, False on failure), while Email targets subscribers and has a single exit. The choice between these channels can significantly impact engagement rates and overall marketing effectiveness. For instance, the GetResponse push vs email comparison highlights how push notifications can provide real-time engagement opportunities that emails might not, given their propensity to get lost in crowded inboxes. Understanding these dynamics can help marketers tailor their strategies for optimal audience reach.
Expect clear examples and patterns you can reuse: product page triggers, time-sensitive offers, and re-engagement loops that respect timing and opt-in flow.
Key Takeaways
- Web notifications reach opted-in visitors even when they’re off site.
- Install the tracking script and verify your site before sending messages.
- Web delivery has two exits (success/failure); Email uses one path.
- Use short waits after subscribe to improve opt-in rates and UX.
- Follow the checklist in your account to validate messages and delivery.
Why web push notifications matter in your marketing automation right now
Browser notifications put time-sensitive information in front of users the moment it matters.
Short push notifications reach a visitor’s browser even when they are off your site. This makes them ideal for fast updates like flash sales, inventory alerts, or service notices.
Web push complements email by filling timing gaps and increasing the chance that important information is seen quickly.
Because the web channel can target opted-in visitors who are not yet subscribers, you expand reach and gather more conversions. Use the channel to nudge visitors toward subscription and deeper engagement.
- Immediate reach: real-time delivery for critical moments.
- Consent-based: browser permissions build trust and compliance.
- Channel orchestration: quick alerts for immediacy, email for depth.
| Use case | Best channel | Why it works |
|---|---|---|
| Flash promo | Web push notifications | High visibility and fast delivery |
| Operational alert | Web | Immediate notice for users |
| Nurture series | Rich content and storytelling |
Before you start: prerequisites, permissions, and website setup
Begin by registering your site and deploying the tracking code so contacts and permission states are captured accurately.
Install the Web Push tracking script and verify your site in GetResponse
Register your website under Web push notifications > Sites in your getresponse account. Copy the tracking script from Site installation or from the Send push notification action properties and add it to pages where you will send messages.
Confirm the snippet loads on every page and opens without console errors. That ensures the script captures permission status and identifies list subscribers.
Browser opt‑in: how visitors grant notification permissions on your website
Each visitor must click Allow in the browser prompt before notifications appear. Plan your UX so the permission request happens at a logical moment, not immediately on first load.
Test with a fresh browser profile to simulate first‑time users. Verify accepted permissions show up in your contacts and that notification rendering works.
Choosing the site in Web push notifications > Sites and connecting your account
Map the script to the correct list so email subscribers can be targeted on the web channel. If you support multiple subdomains, register each site and deploy its specific snippet.
- Use a staging site to confirm the site appears in the Send push notification action dropdown.
- Document settings: site ID, script version, and list mappings to prevent future breakage.
- Remember: the Send push notification action cannot be the first element in a workflow—place a preceding condition or filter before the action.
| Step | Purpose | Verification |
|---|---|---|
| Register website | Enable notifications and collect permissions | Site listed in Web push notifications > Sites |
| Install tracking script | Identify contacts, capture permissions, render notifications | No console errors; script loads on pages |
| Map to list | Target subscribers on the web channel | Contacts appear with correct list association |
Building a workflow with getresponse push automation triggers step by step

Create a workflow that gates web messages with waits and proper site binding so delivery stays reliable and respectful.
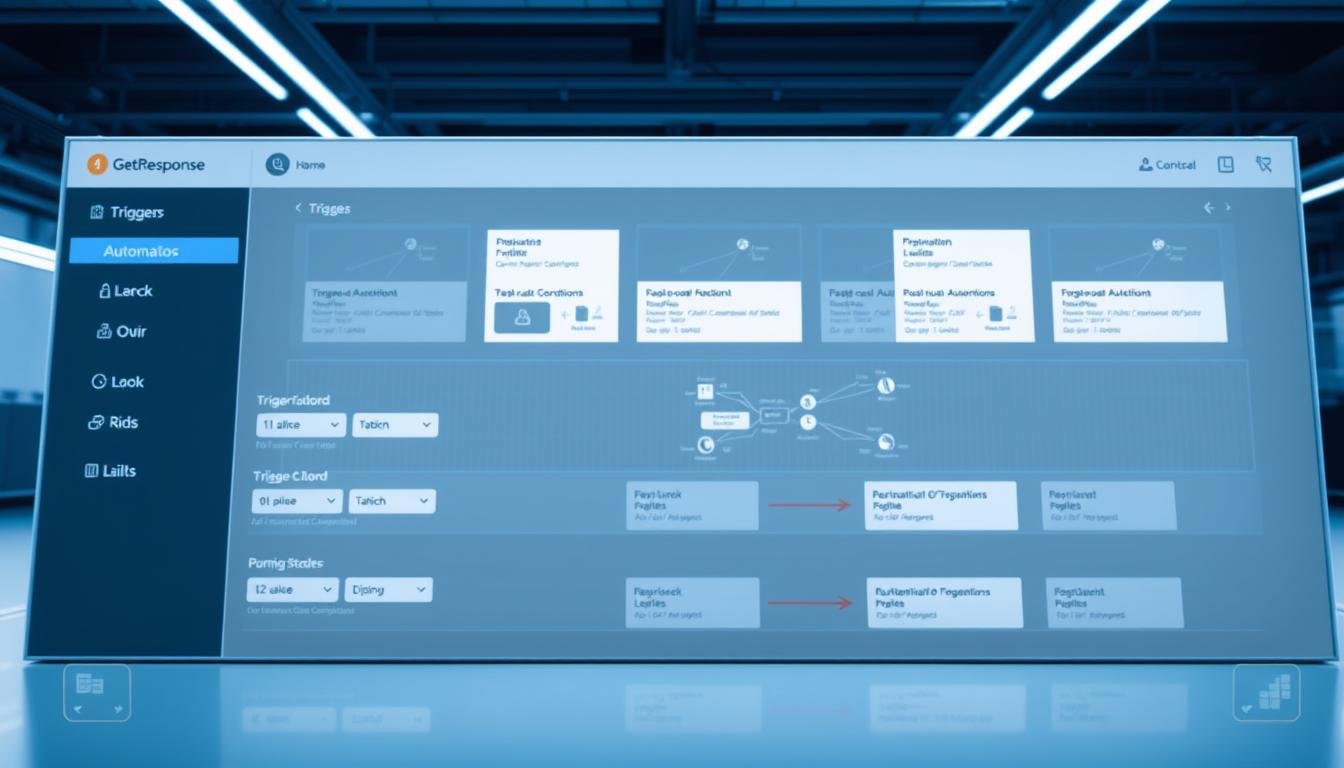
In the automation canvas, drag the Send push notification action from the Web channel Actions panel. Connect it to a preceding element so a contact flows into the node. This prevents orphaned steps and keeps your logic tidy.
Configure three required settings: select the registered site, choose a notification type (Sent or Draft) that copies into an Automation message, then pick the exact notification to send. Rename the Automation copy to keep versions clear.
- Note channel differences: Email supports Send to unique recipients and Send only during specific hours; the Web action does not.
- If you need time control, use upstream logic or Wait actions to hold contacts until the correct delivery window.
- Add a Wait of 5–10 minutes after Subscribe to avoid immediate browser permission prompts that lower opt-in rates.
| Step | Why it matters | Quick check |
|---|---|---|
| Place action in canvas | Ensures contacts reach the message | Connected to prior element |
| Choose site & notification type | Maps message to correct website and copy | Correct site selected; message renamed |
| Use Wait / Run multiple times | Controls timing and repeat behavior | Wait added; Run multiple times enabled if needed |
Tip: For multi-site setups, verify site binding per branch. A wrong site stops delivery even for opted-in users. Pair the action with follow-up paths to handle delivery outcomes and keep contacts moving through your automation.
Email vs Web channel: delivery logic, exits, and who you can reach

Channel signals shape how you handle delivery and recovery. The Web version of the Send action reports two exits: True when a notification delivers and False when it fails. Use those exits to build precise follow-up paths.
The Email action exposes a single exit regardless of delivery success. That makes email less granular for delivery-aware branching. Plan retries, confirmations, and analytic tags upstream or after sending.
Who you can reach and how to move contacts
The web channel can target both subscribers and opted-in visitors identified by your site script. Email only targets your list of subscribers. You can move a subscribed contact from web to email within a journey for deeper content.
However, you cannot place anonymous email-only users into the web channel without explicit browser opt-in. Design contextual invites to capture that permission when it makes sense.
- Use False exit to route contacts into backup actions: an email, an on-site message, or a delay-and-retry.
- Start with web for immediacy, then follow with email for richer information and lifecycle sequences.
- Tag cohorts by delivery outcome so reporting and segments reflect real delivery behavior.
| Aspect | Web action | Email action |
|---|---|---|
| Exits | Two: True (delivered), False (failed) | Single: one path regardless of delivery |
| Reach | Subscribers + opted-in visitors | Subscribers only (your list) |
| Recommended follow-up | Immediate retry, email backup, tag failure cohort | Upstream checks, scheduled resend, analytics flags |
| Consent note | Requires browser opt-in to target visitors | Requires email subscription on your list |
Optimization tactics, real‑world triggers, and workflow maintenance
Use on-site signals — like repeated product views or pricing revisits — to deliver precise, timely messages.
Trigger ideas and timing
Build high-intent actions around page depth. Fire a notification when a visitor lands on a product page or comes back to pricing. Tailor the copy to the SKU or plan they viewed.
For limited offers, send a short alert that creates urgency, then route failed deliveries to an email backup or a follow-up action.
Run multiple times and delivery windows
Enable Run multiple times so the same action fires when behavior repeats. Cap frequency upstream to avoid user fatigue by tagging and throttling contacts.
Because the web channel lacks native send-hours, use Wait steps and schedule conditions to control delivery windows.
Import checklist and maintenance
If you import a workflow from another getresponse account, reconfigure every Send action: reselect the site, notification type, and message before publishing.
- Audit the site binding and list mapping regularly.
- Tag delivery result and last push timestamp for throttling and reporting.
- Track performance by trigger type and iterate creative and timing.
| Trigger | Best use | Quick tip |
|---|---|---|
| Product page | Stock alerts, quick-view reminder | Use SKU-aware messages |
| Pricing page | Comparison CTA, plan incentive | Offer time-limited discount |
| Repeat visits | Re-engage interested users | Enable Run multiple times; add caps |
Conclusion
Align delivery logic, naming, and recovery paths so each action in your workflow behaves predictably. The Web channel’s Send push notification sends short browser messages with two exits (True/False), while the email path provides a single exit and reaches subscribers only.
Standardize builds: pick the correct site, confirm the Automation message copy, and name versions clearly in your getresponse account. Add a short Wait after Subscribe to avoid immediate permission prompts and use Run multiple times for repeat behaviors.
Tag delivery results, last push timestamps, and list affiliations so contact data stays accurate. Recheck every action when importing from another account and keep testing creative, cadence, and False-exit backups to raise delivery and conversion rates over time.

